Over winter break I wanted to make my OWN notebook that I could use for future projects in 2024! Now you can do the same.
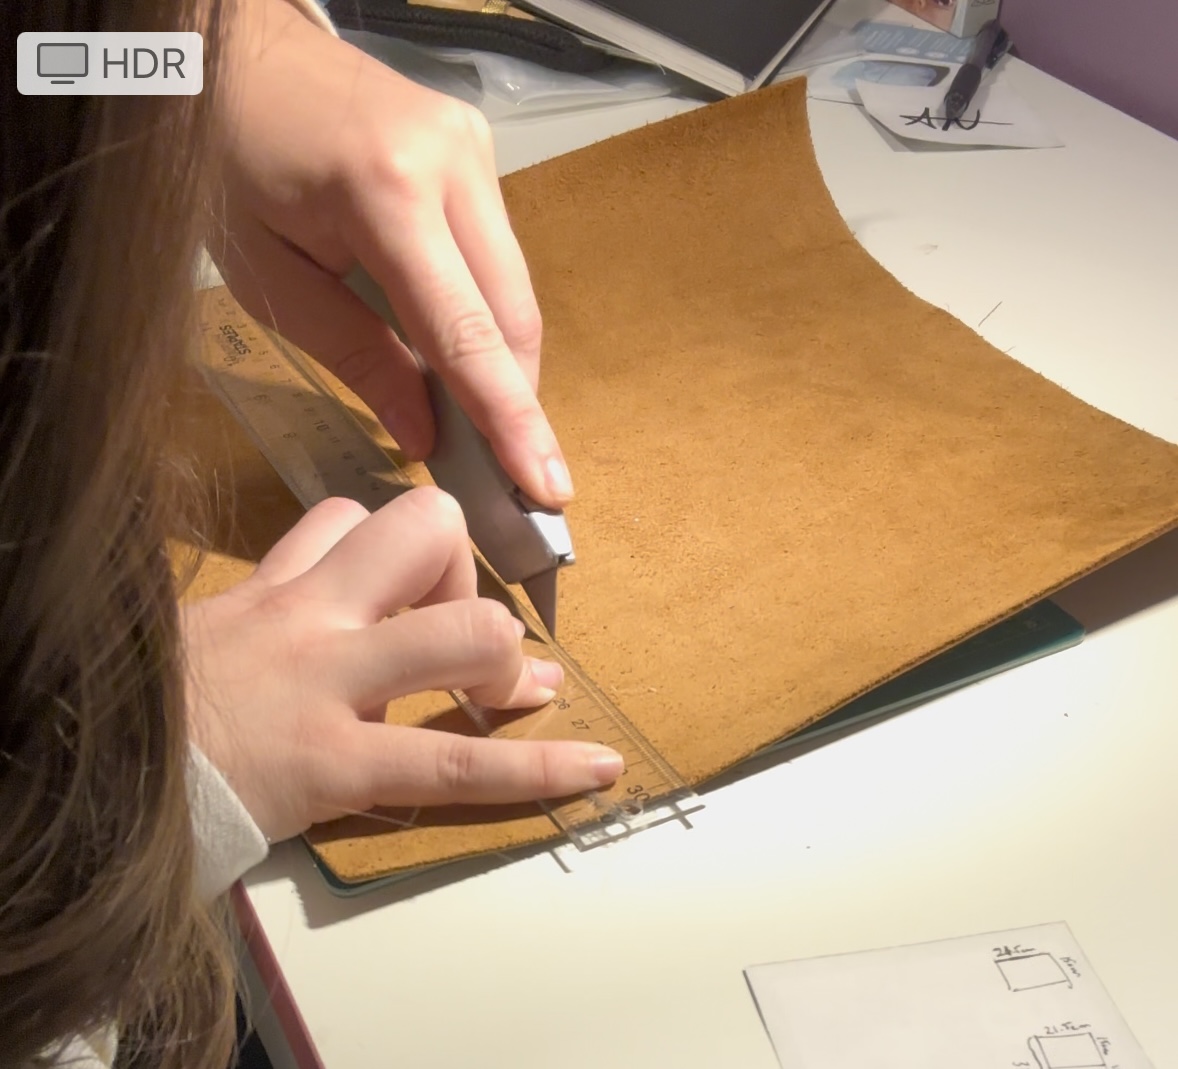
Cut the piece of leather to the desired length using the Exacto knife. Make sure the knife is sharp and that you don’t cut at an angle. I did 8\” x 12\”.
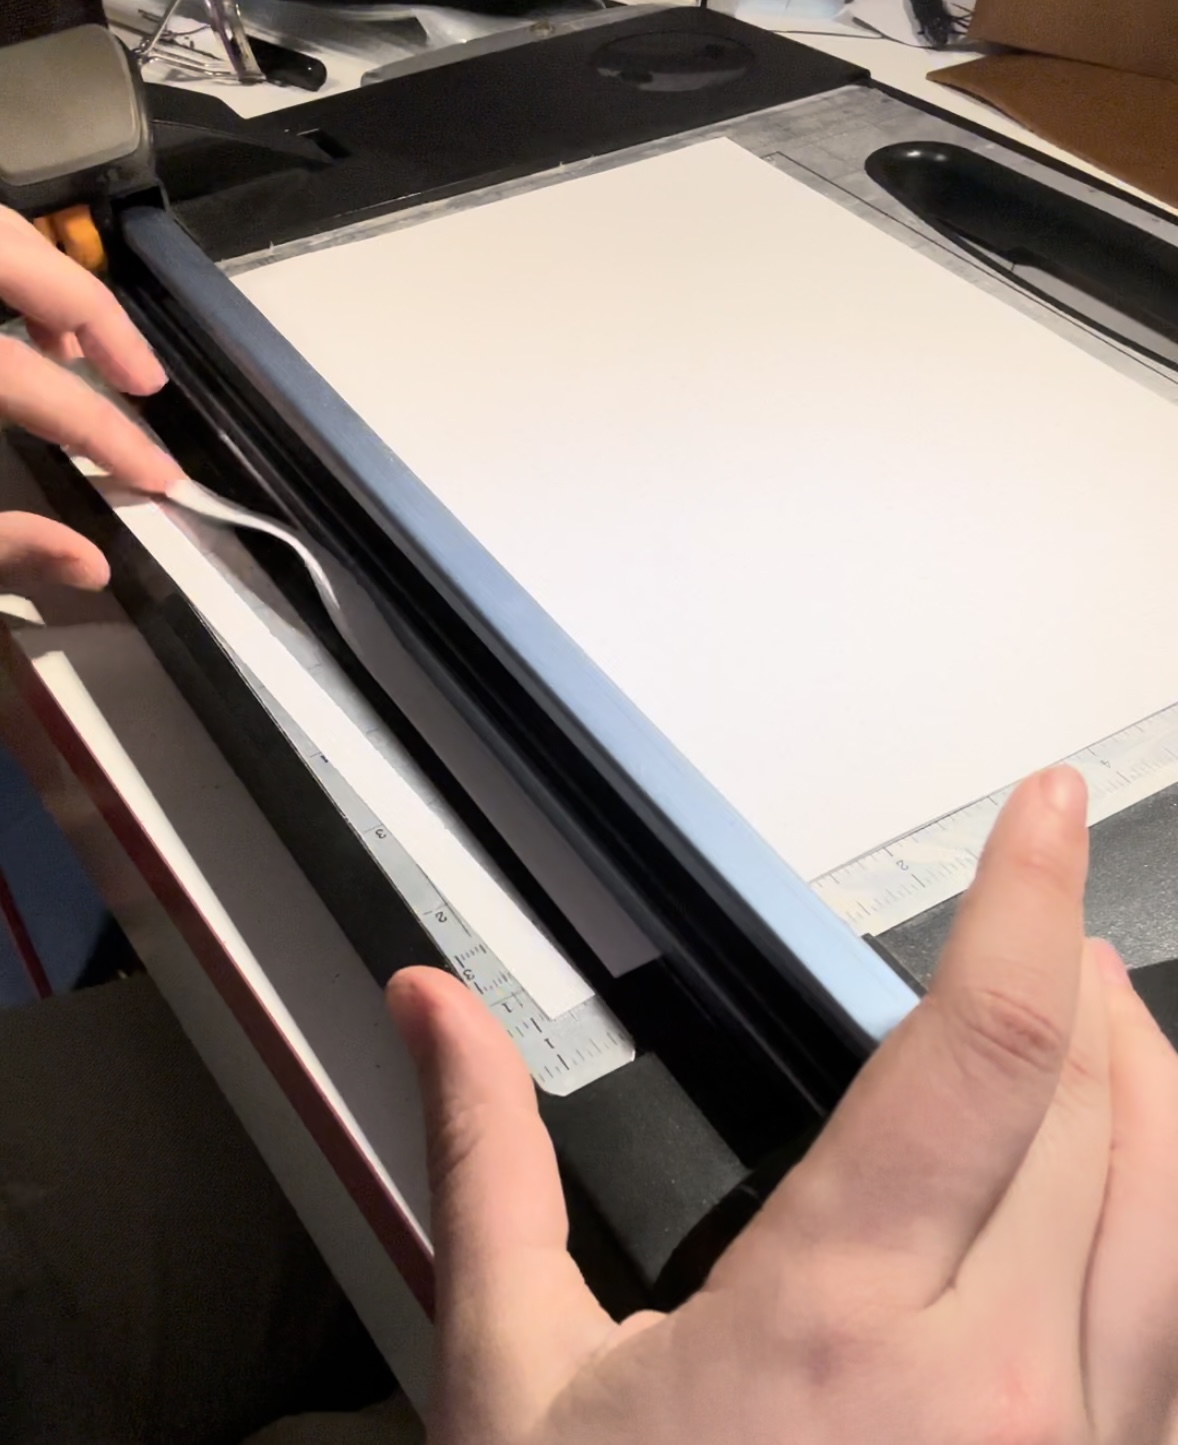
Cut the paper to desired length. You can cut the edges as well to make sure everything is smooth; I did 7”x11”. This paper can be any paper of your choice. I did dotted paper. I made it on adobe and printed it myself rather than buying dotted paper. Click here to download that file.
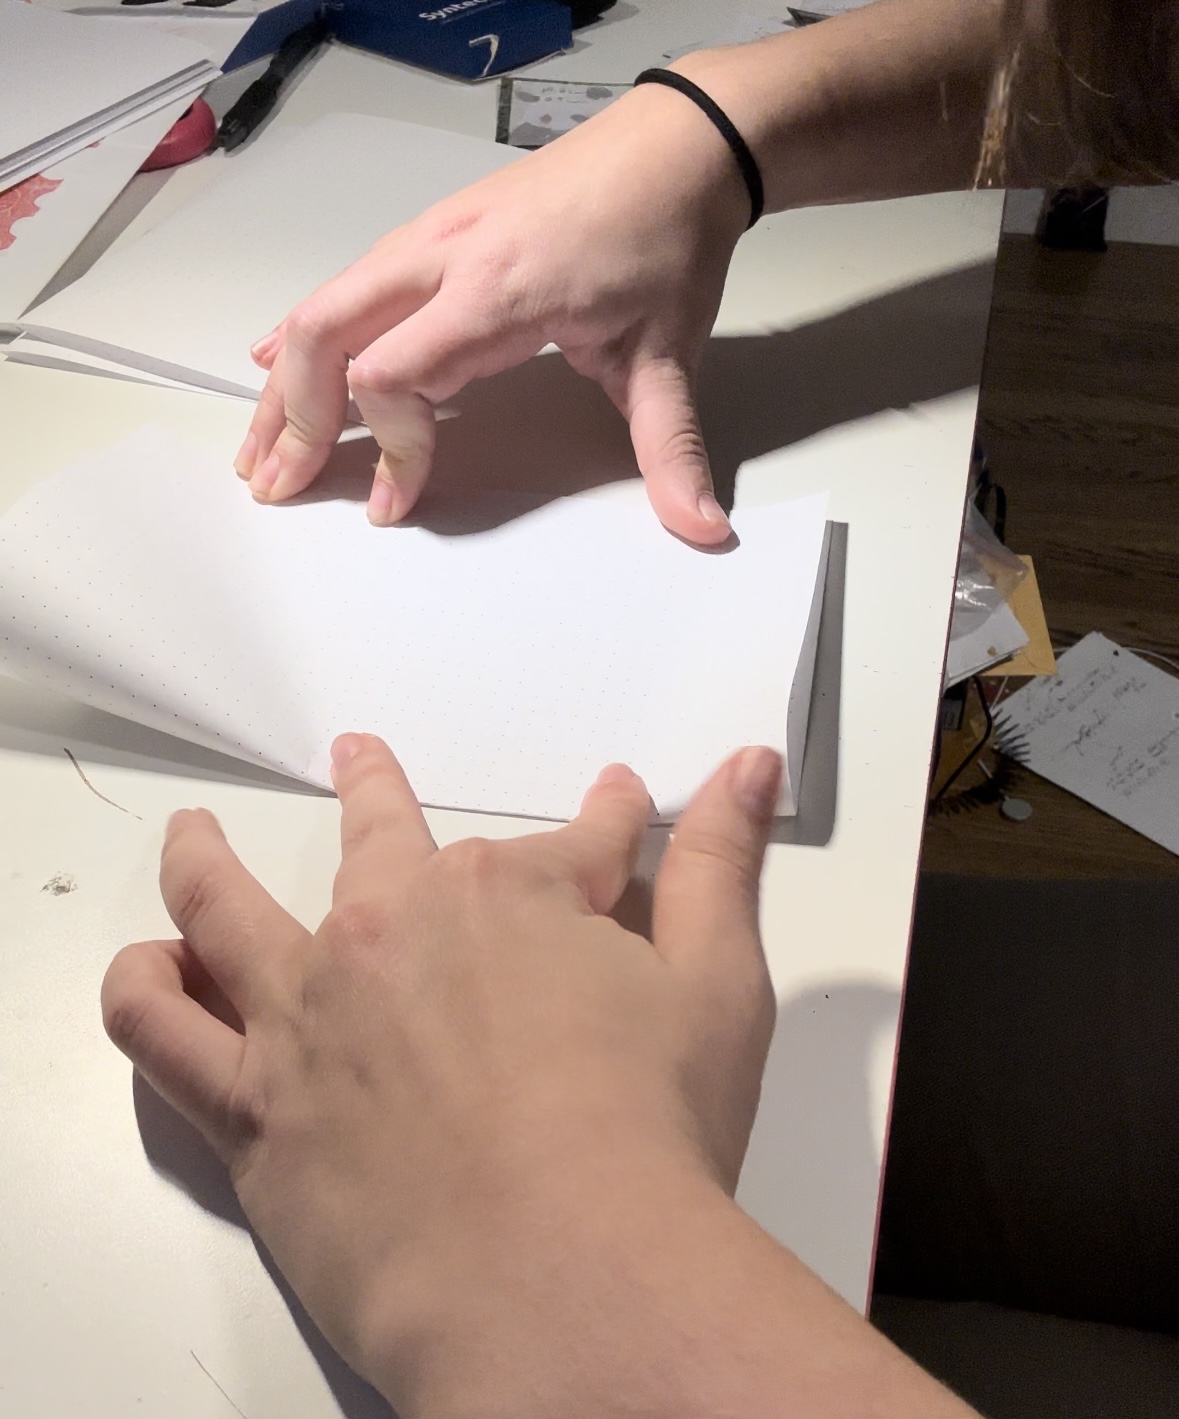
Fold each piece of paper in half and crease well. I recommend flattening it more using the edge of a ruler.
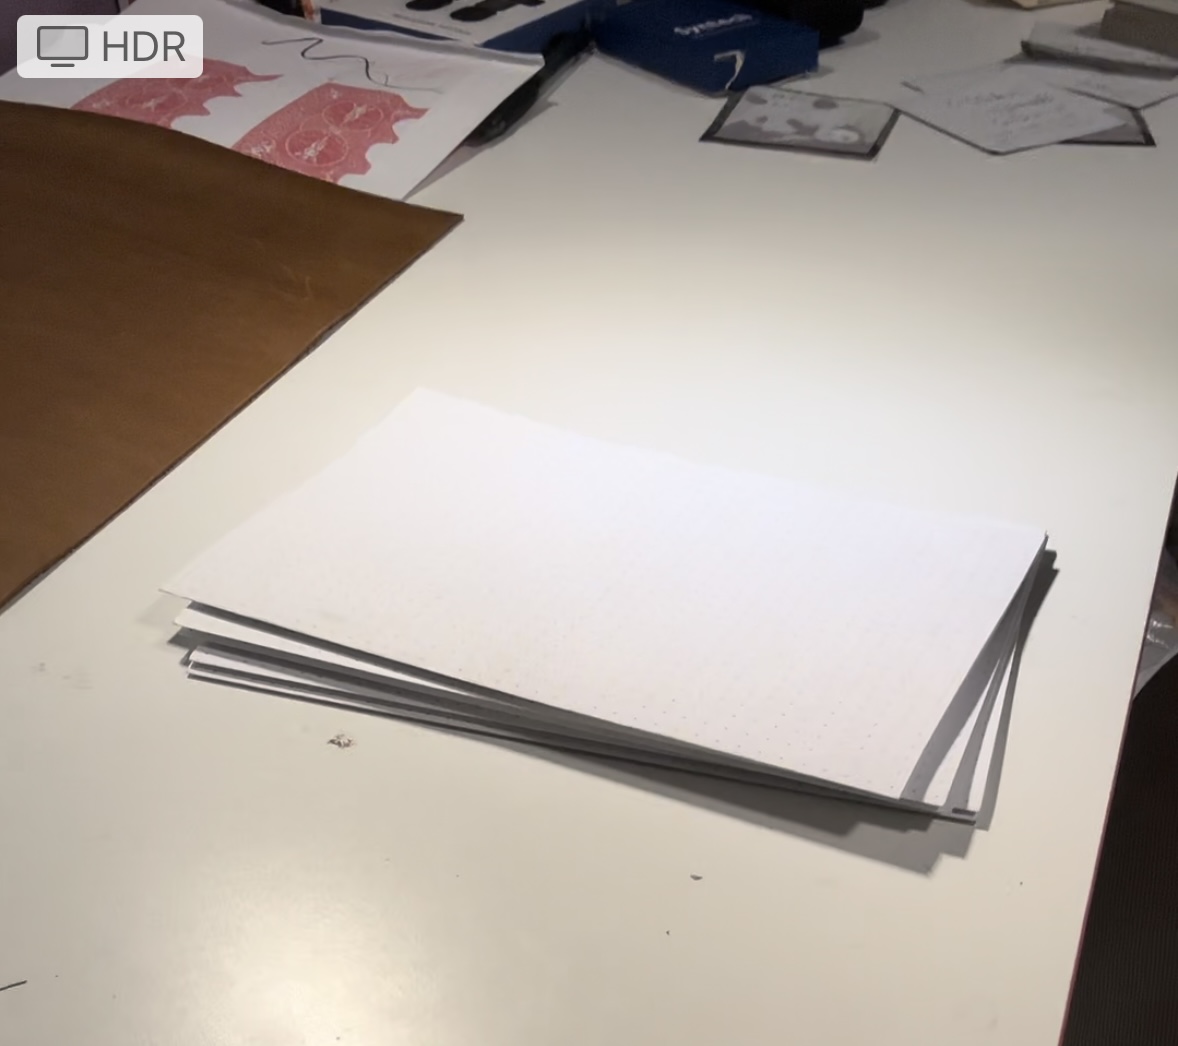
Make signatures! Signature and smaller sections of folded paper that are put together. I nest 5 pages of paper into each other to make a signature; like sandwiching them on top of the next page. Do that 7 times, but you can do as many pages you want in your notebook.
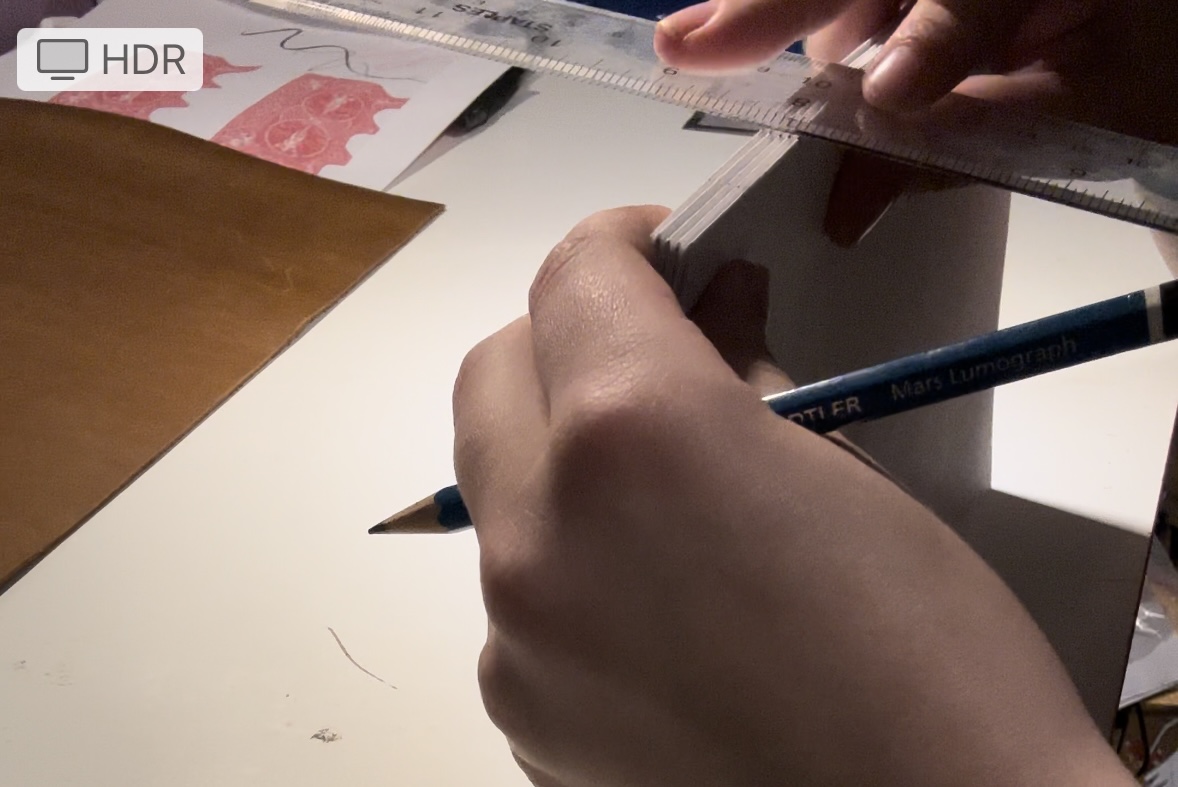
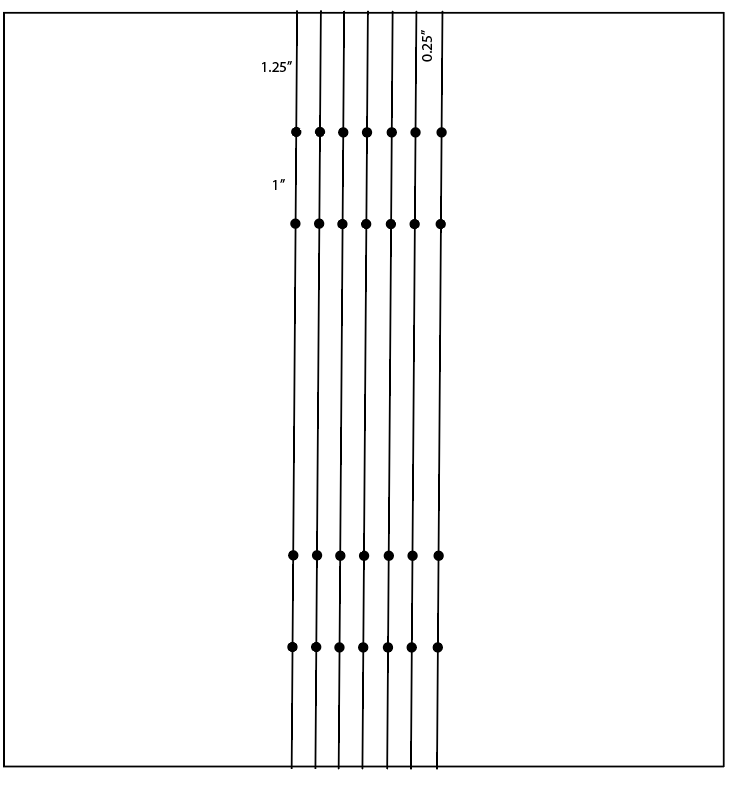
Measure an inch into the edge of the book and mark it with your pencil. Then mark another inch into the paper edge.
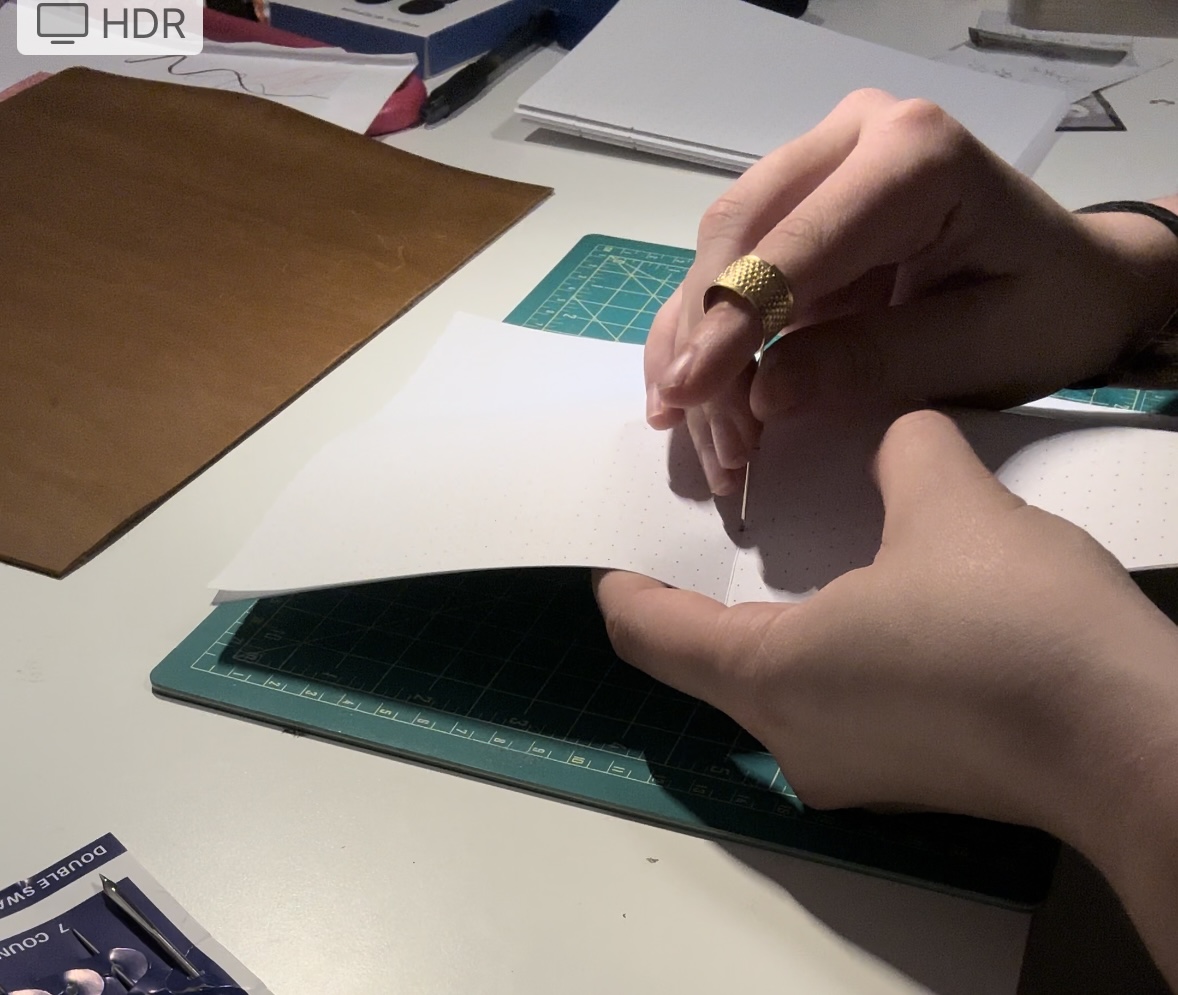
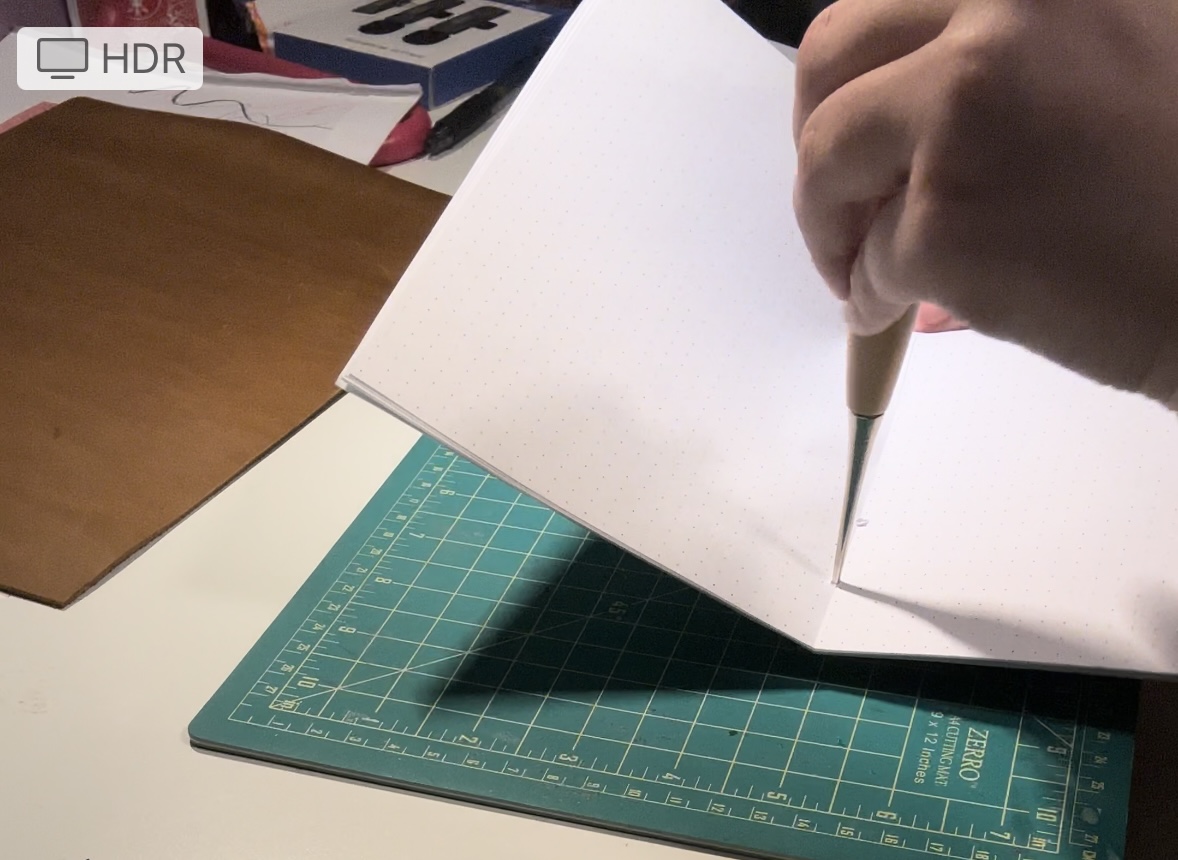
Use one of the thin sharp needles to puncture the hole into the signature where you just marked it. Repeat that for every signature.
Use the bigger needle to widen the holes a bit more.
Using your pencil mark the inside of the leather on where you will be making the holes.
Use a screwdriver to make holes in the leather
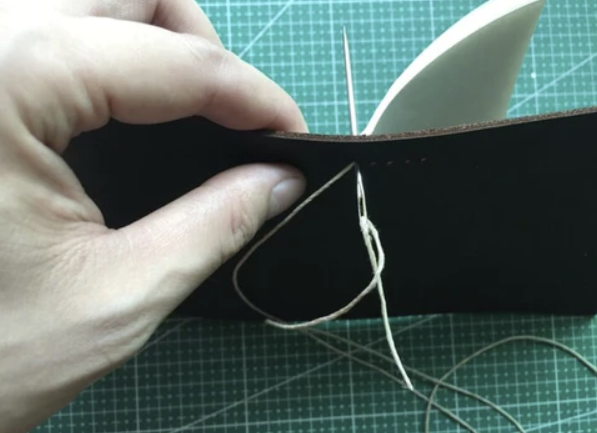
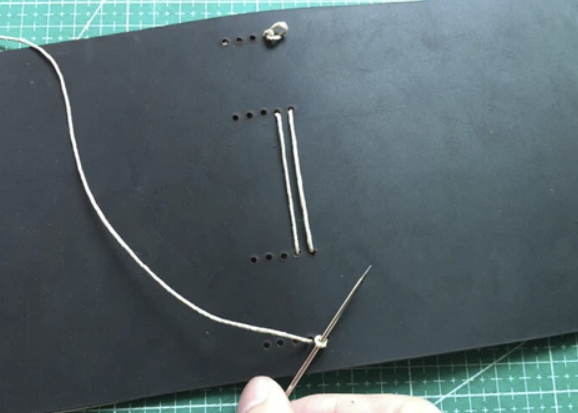
Weave the thread through the first hole on the inside of the cover. Then bing it back through the same hole but leave a little loop.
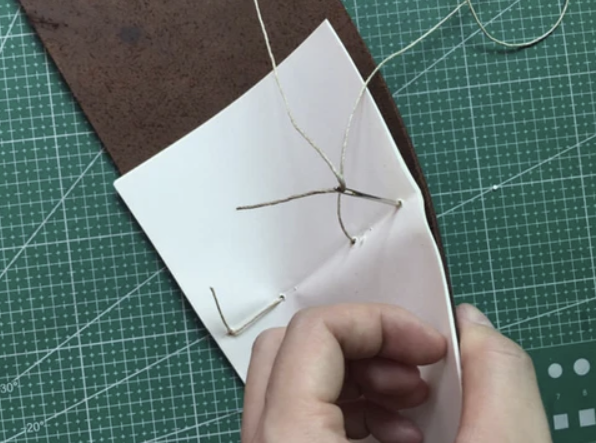
Thread the needle through the signature and then follow the line of holes weaving in and out of the paper until the end of the line.
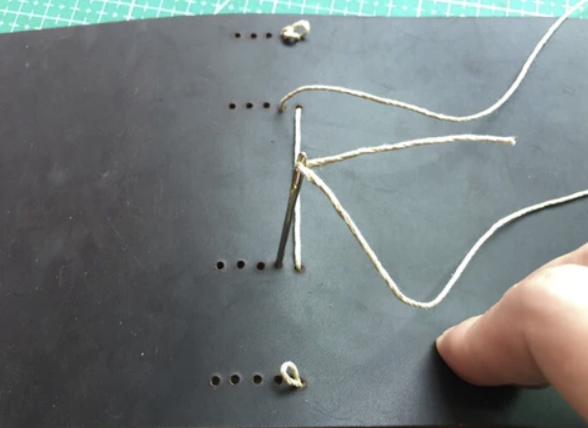
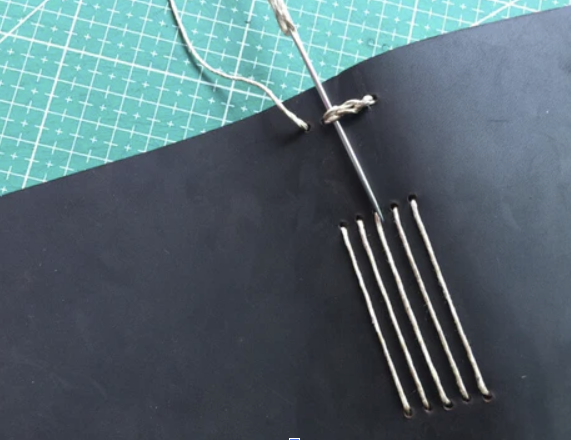
Follow into the next line of dots and weave your way back to the top with the loop.
Once at the loop, before weaving back into the next hole, push your needle through that loop.
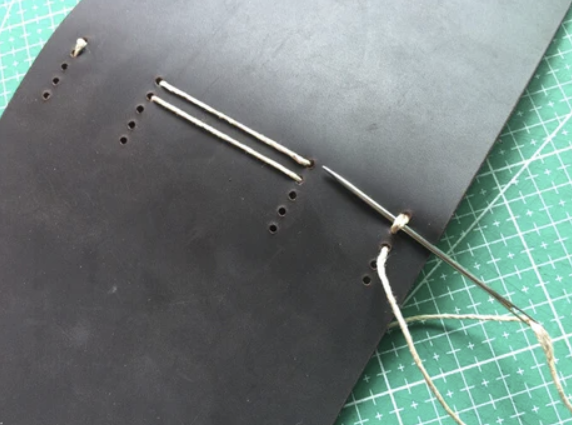
When you weave your way back down to the bottom row of holes, before weaving into the next hole to turn around, slide your needle through the bottom stitch made previously.
Continue this pattern until all 7 signatures are stitched together and tightened to your liking.
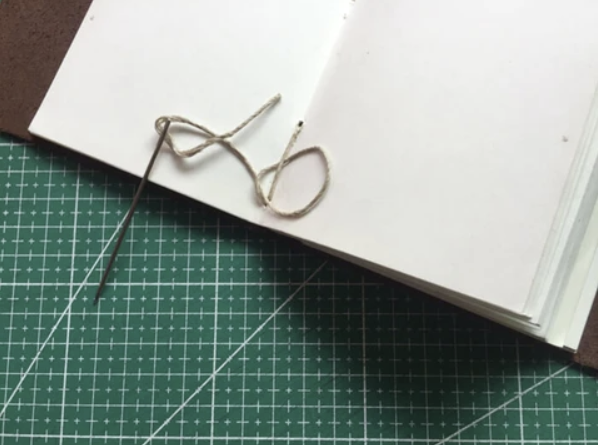
Stitch back into your last hole and make a knot on the inside to secure the book.
Now you have a notebook!
This tutorial was made by Amanda Nepo, but the pictures in numbers 10-16 were from
Tutorial pictures